 Go To Page 1
Go To Page 3
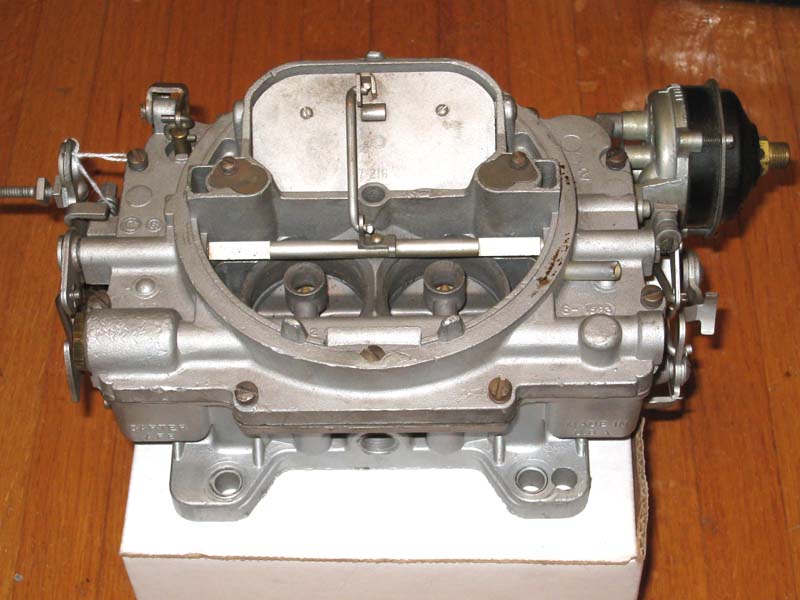
Jan 21st 2010 - Got a Carter 3783 AFB from thecarburetorshop.com. Looks tp be in pretty good shape, but will need a rebuild to clean things up inside and make sure it is all adjusted right.
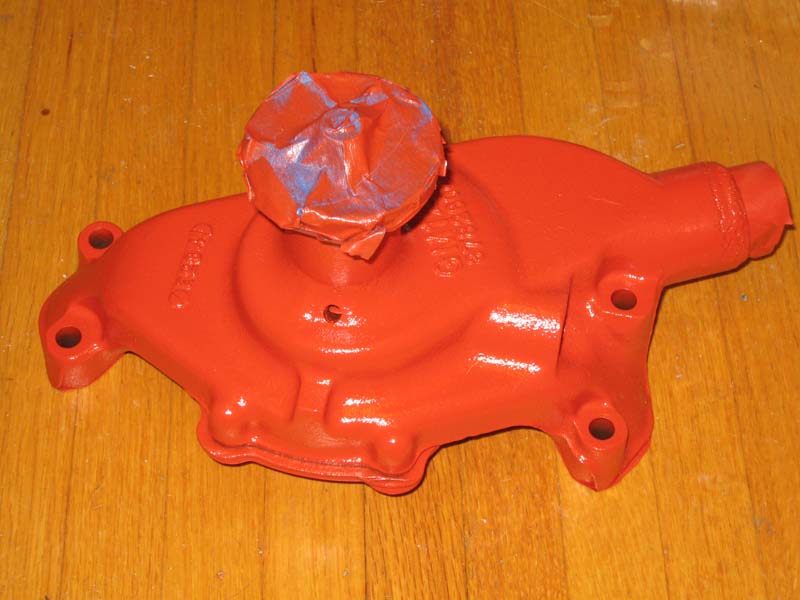
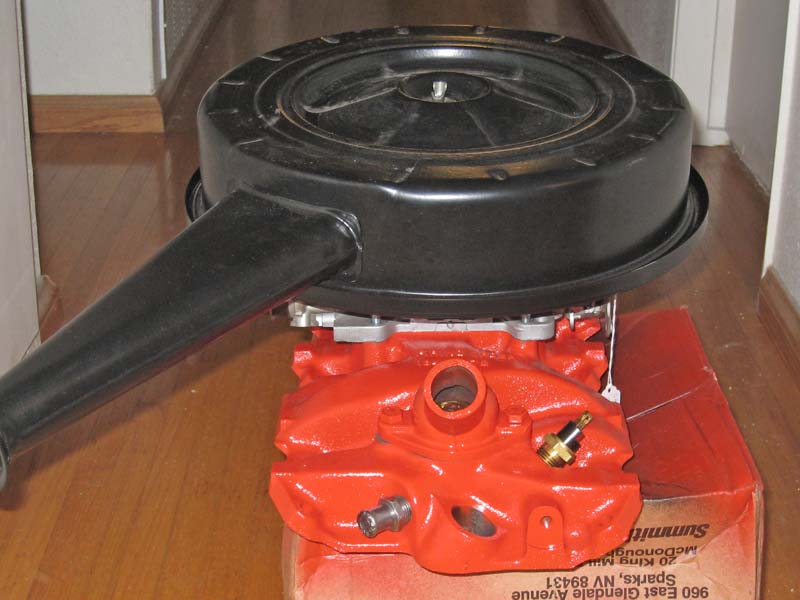
I also got this correct casting number water pump off of ebay and sent it to howardstewartrestorations.com to be rebuilt with modern (longer lasting) seals and bearings. Just got through putting some paint on it.
Jan 21st 2010 - Orange County Transmissions (octrans.net) finished building my new 700r4 transmission. This is their Stage 1 which is supposed to be fine up to around 450 hp.
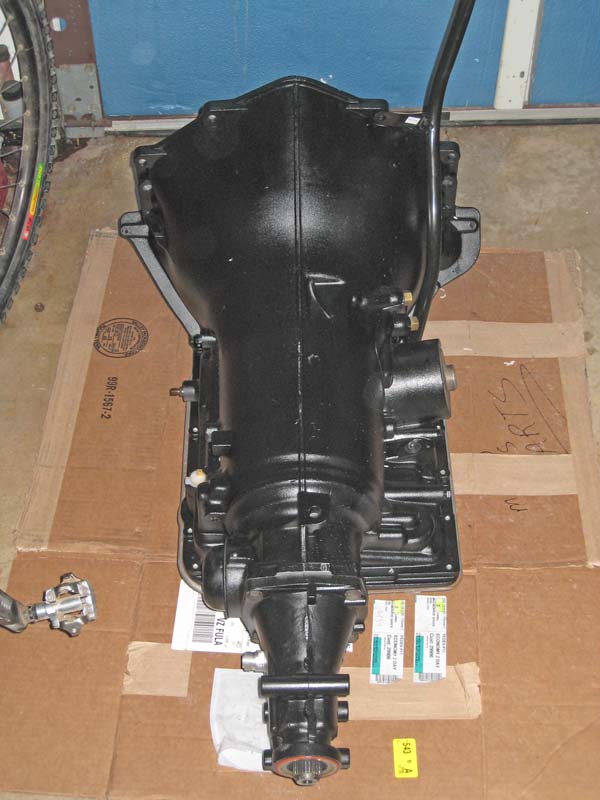
Crossmember, mount, shift linkage and TV cable.
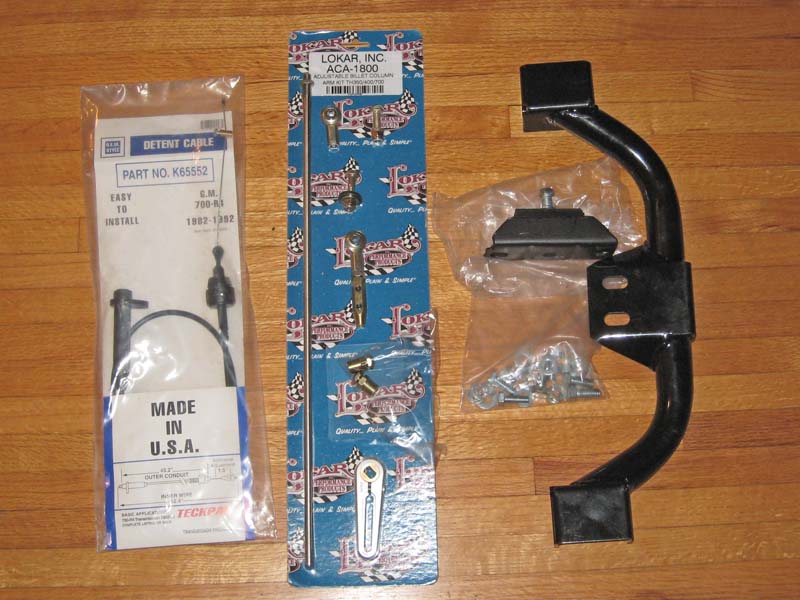
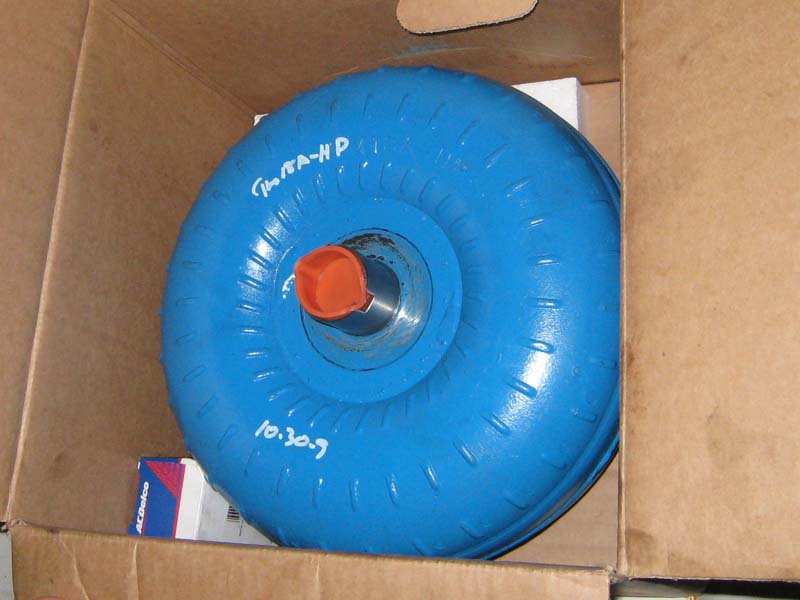
2200 rpm stall converter.
Feb 17th 2010 – The transmission swap is just inches from being complete, but the engine decided it was time to stop working. Would only idle at 2000 rpm or higher, and eventually, I could not start it at all. I decided it must be the carb and rather than mess with the old Quadrajet that was slated for replacement, I would move up the carb swap and do that now.
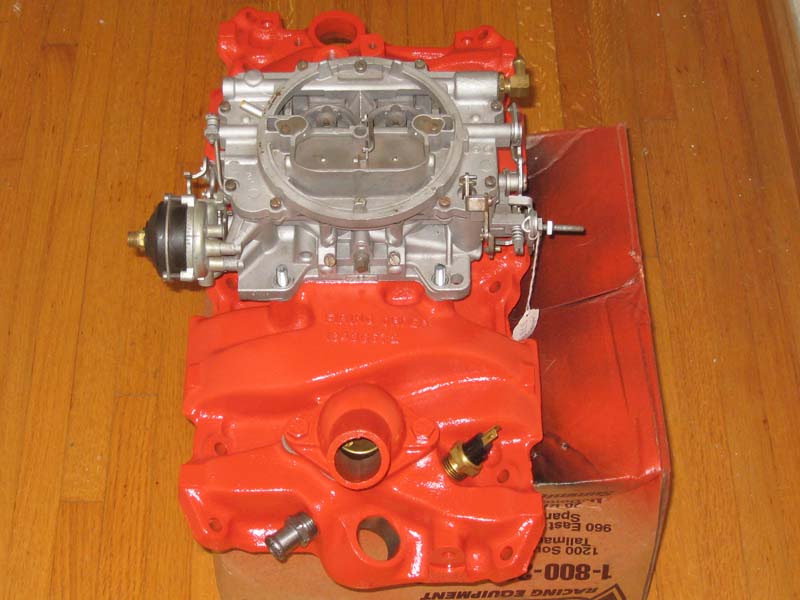
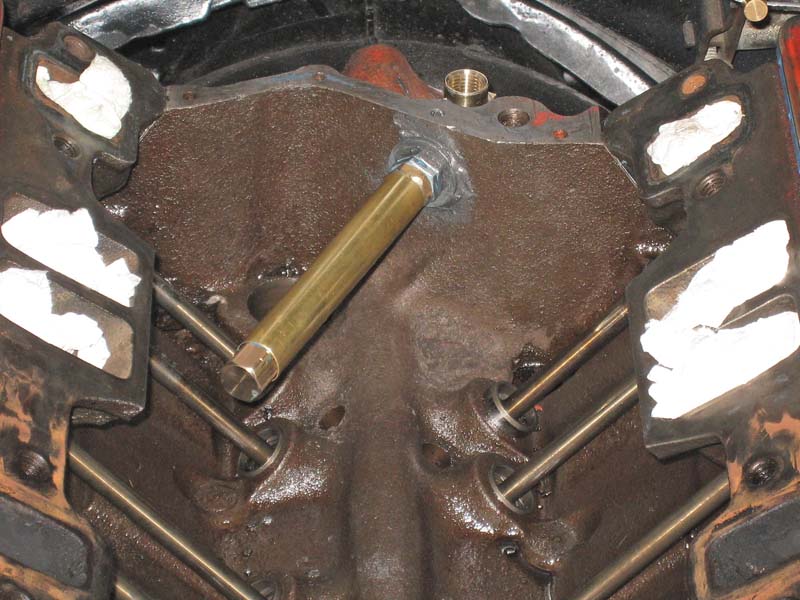
Changing the carburetor to the original style Carter AFB means swapping the intake, which also means a change of PCV system. The 350 block that my 383 stroker is based on comes from the late 60’s to late 70’s. So to make my 350 block have a PCV like a 283/327 I had to drill a hole in the back of the block and make my own sort of breather inside the lifter valley. It has slots cut in the lower side of the brass tube and then holes drilled into the threaded tube inside it. Hopefully this will provide enough baffle to keep it from sucking much oil. It will be nice to get back to the original looking system and best of all, original looking valve covers without those leaky holes.
I have been wanting to put these valve covers on for a long time. Nice shiny new 327 stickers Starting to get a bit harder to tell it is a 350 block under there.
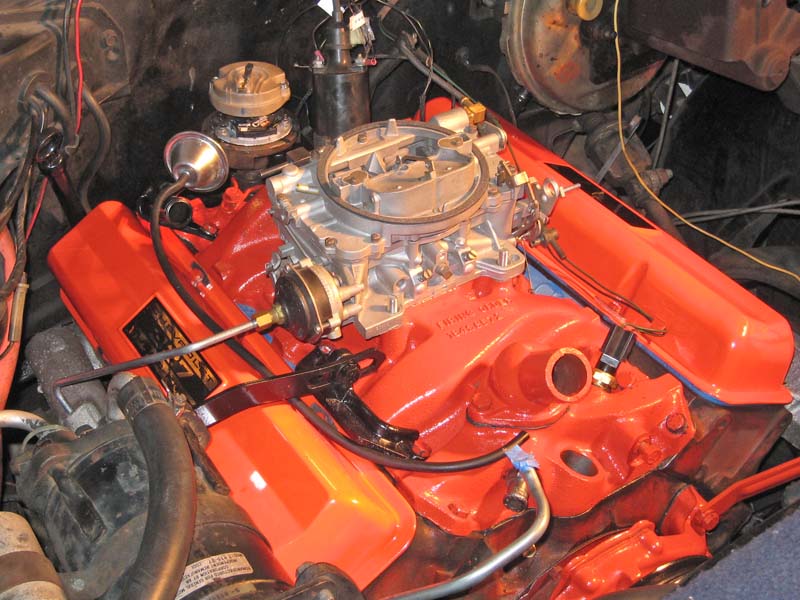
New water pump installed as well.

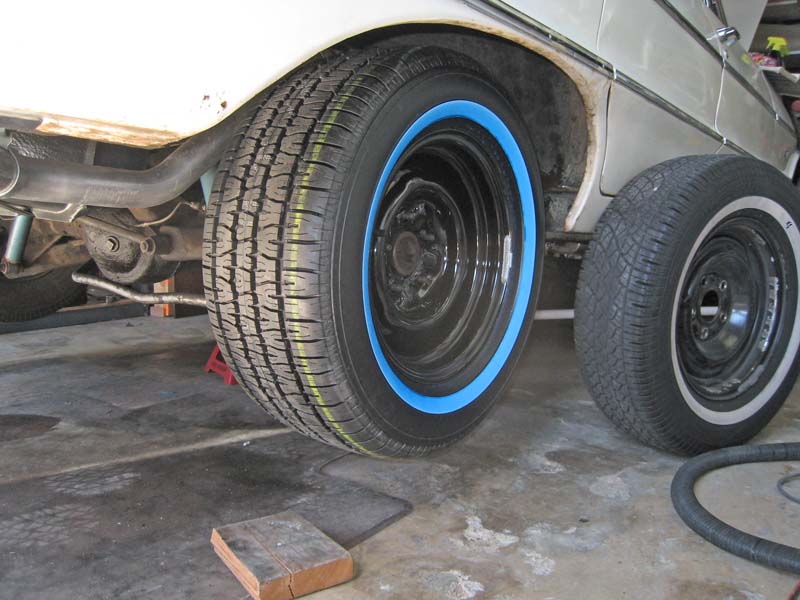
April 29th 2010 – I got 5 new 14x7 wheels from Wheel Vintiques today. I am still waiting for the 245/60/14 White Walls from Diamond Back. This means the suspension and brakes are the next project.
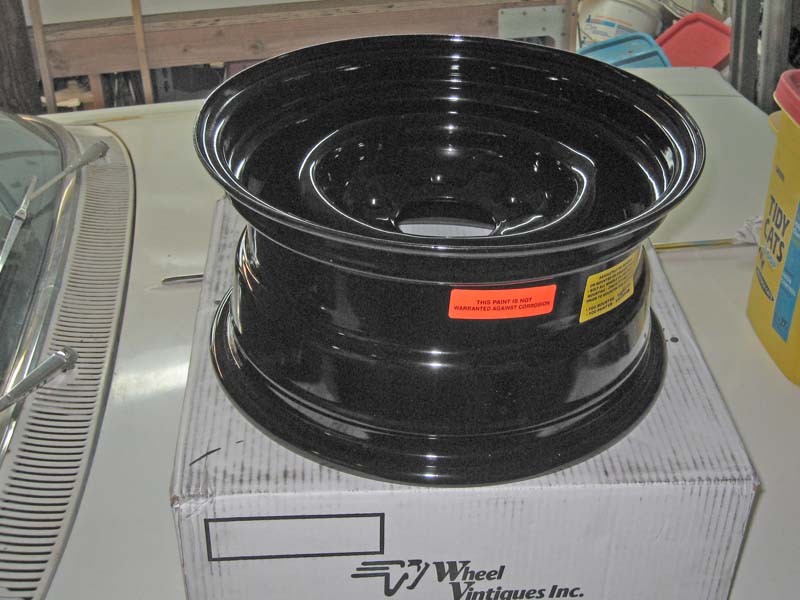
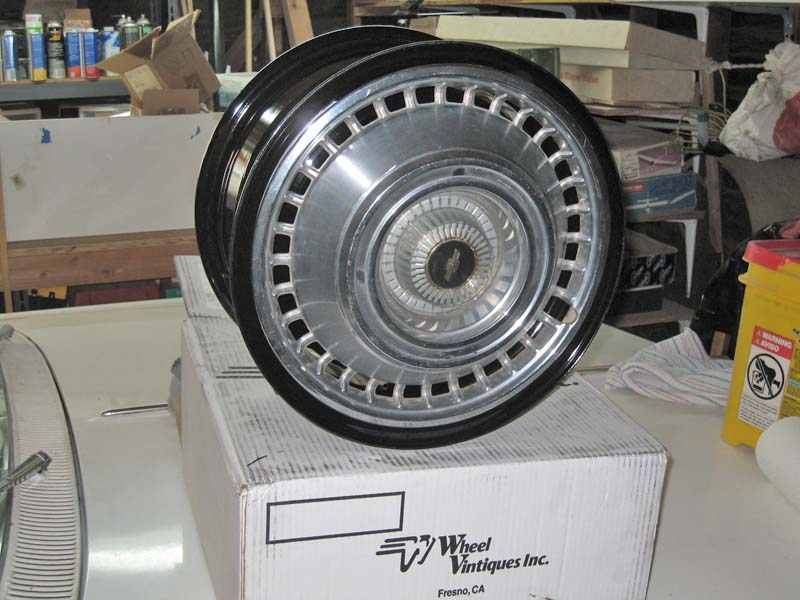
Wider wheels for wider tires, but keeping them stealthy with white walls and hubcaps.
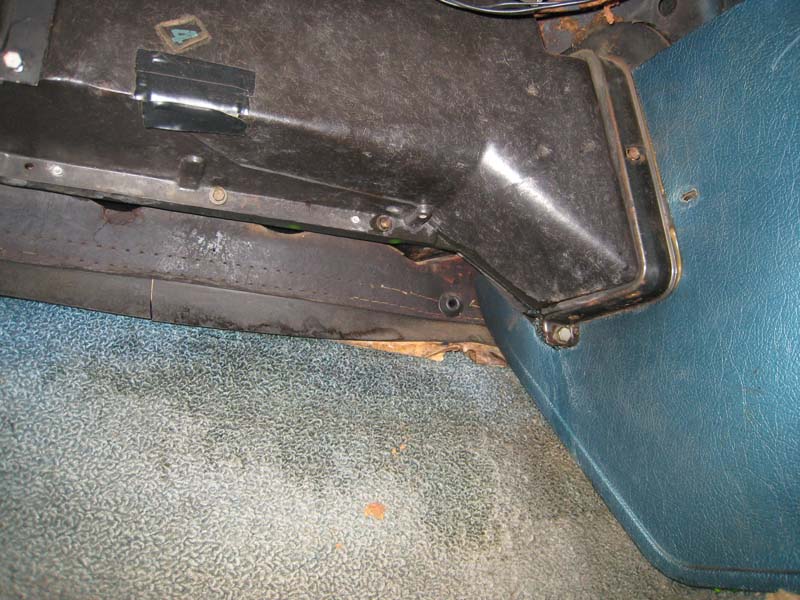
May 3rd 2010 - Now that the Impala has been working, I have been driving it around some. I noticed a funny stain on the carpet the other day, and it was bigger Sunday.... Went to investigate, and sure enough, the heater core was leaking just a bit. You can see the repairs to the heater boxes that I made back in the early 80's when the Impala was broken into and my spiffy new stereo was stolen. The thief busted things up in the process of removing my stereo. This is my chance to go back and fix it better with some fiberglass instead of scraps and duct tape.
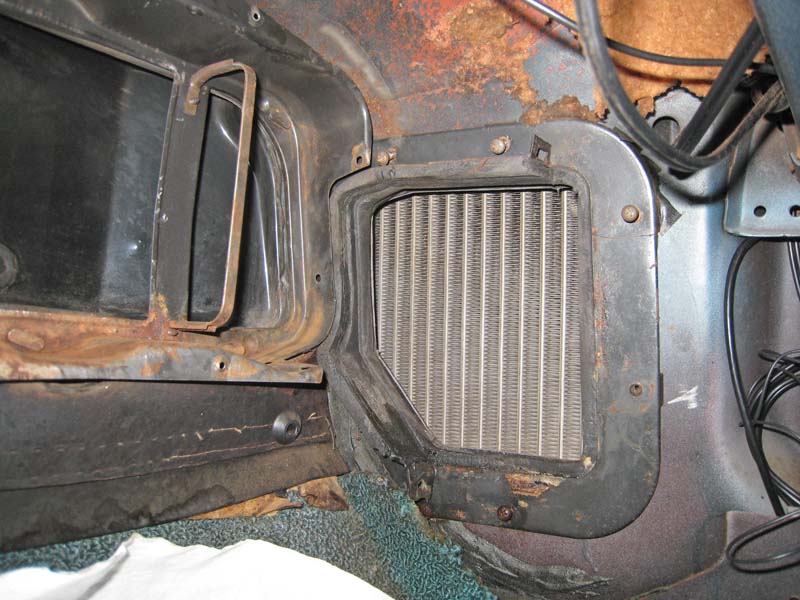
Some rust to take care of.
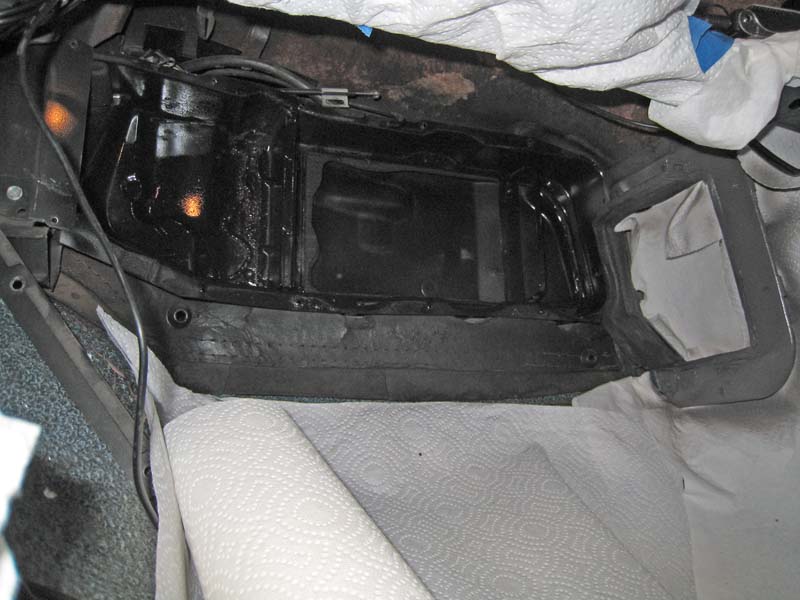
Nice and shiney again.
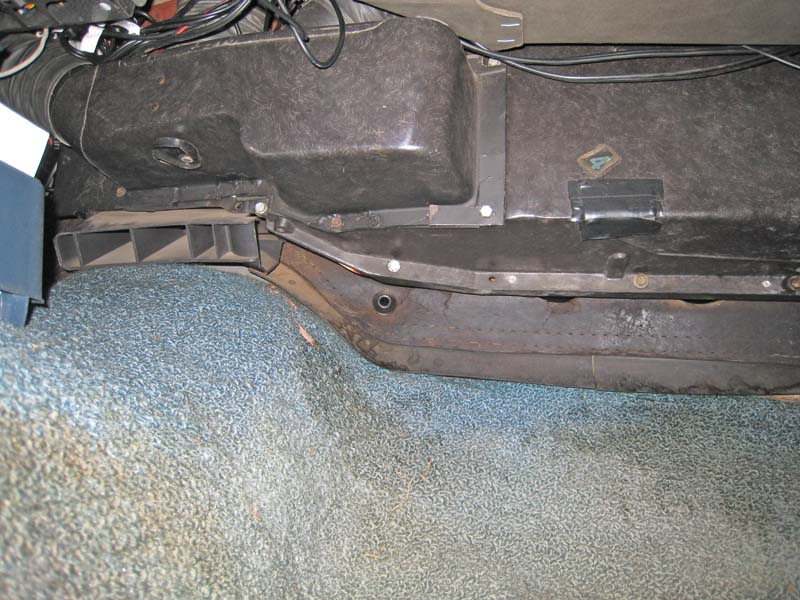
All back together on the inside.
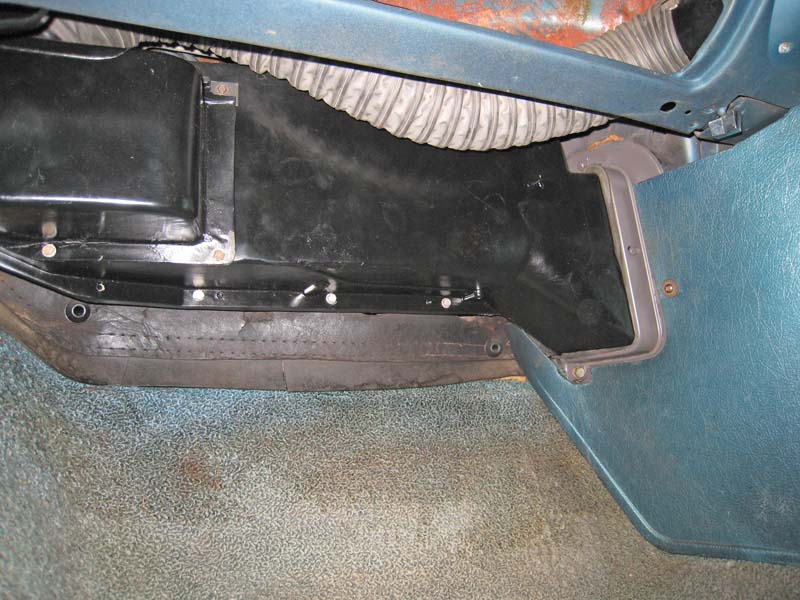
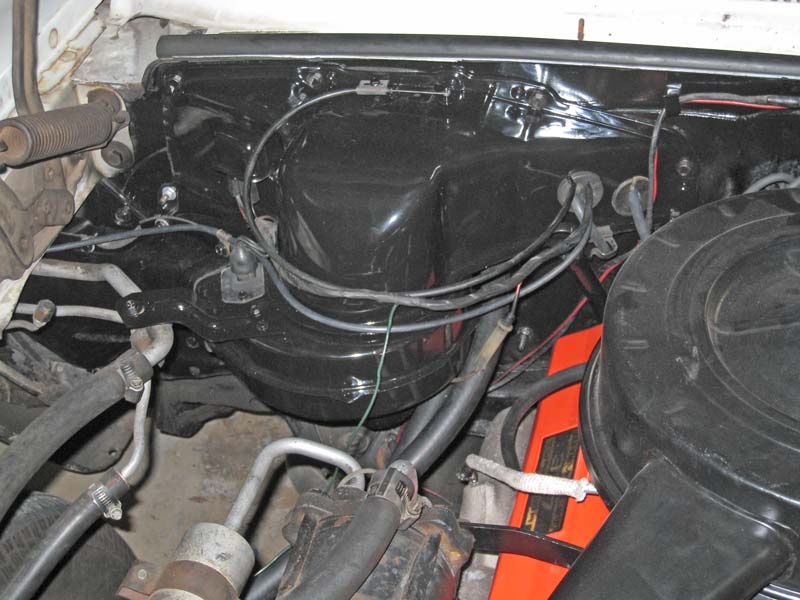
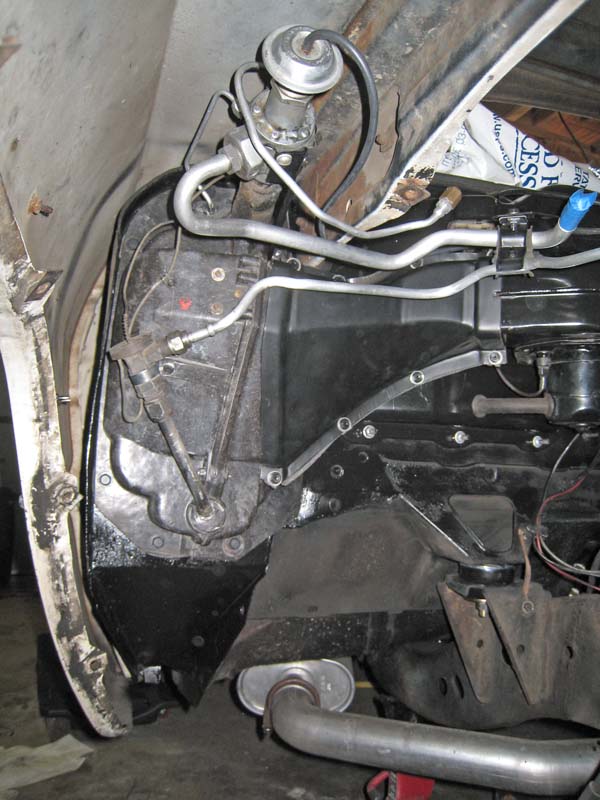
I also had to remove the ducting on the engine side of the firewall in order to get the heater core installed. So all that got cleaned up and painted as well.
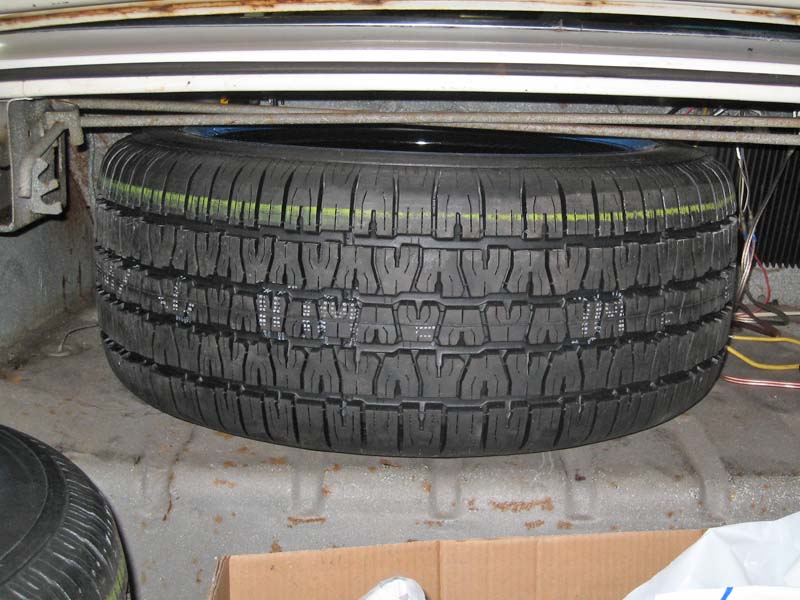
May 13th 2010 – Fresh tires arrived and were mounted to the new wheels. DiamondBack Tires takes a BF Goodrich TA Radial and vulcanizes a white wall to it. The best of both worlds. Stock looking with good performance. It will be nice to get rid of the 19 year old tires that I have been using.
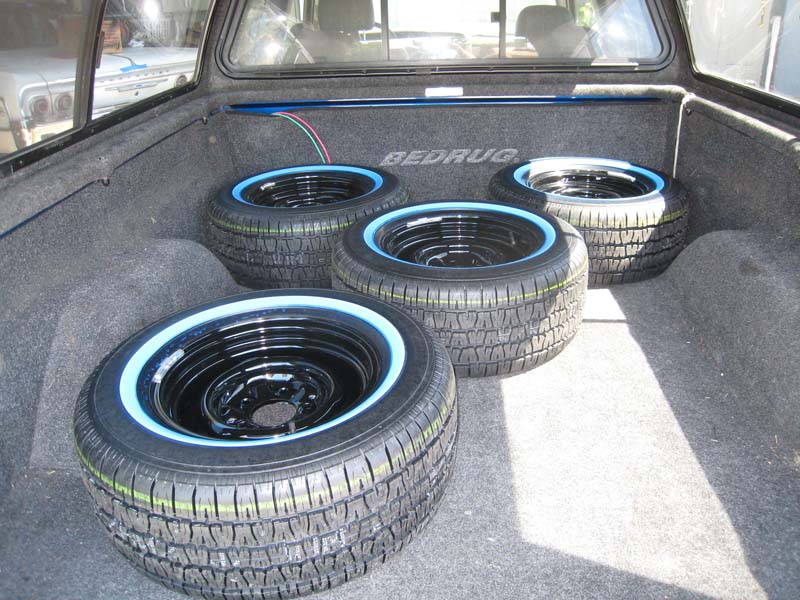
It is a close fit for storing the spare.
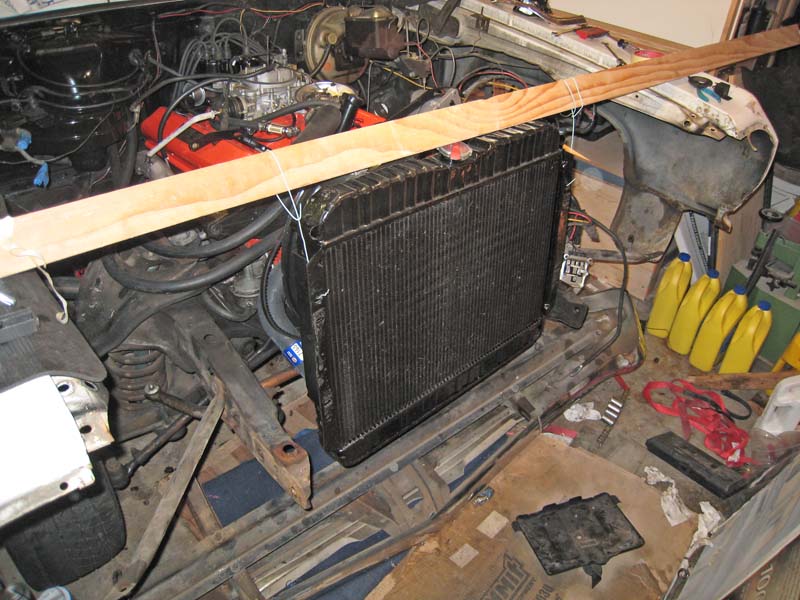
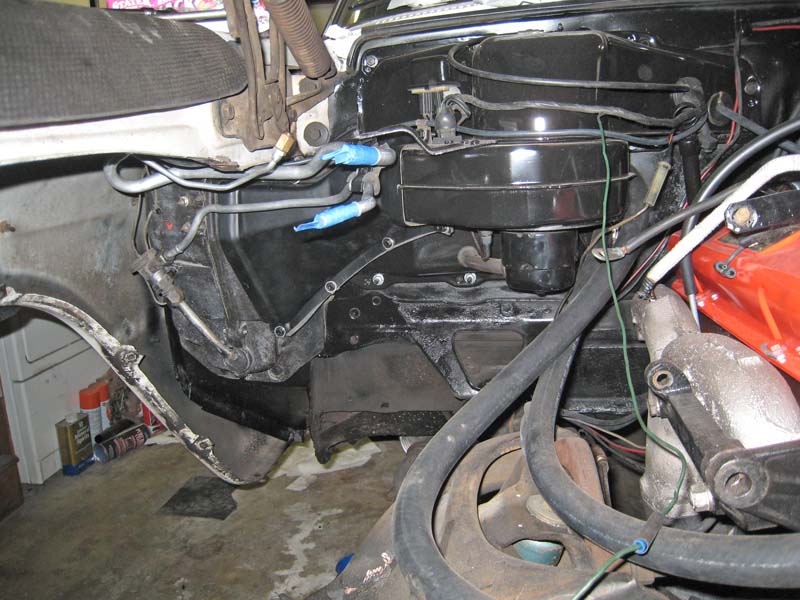
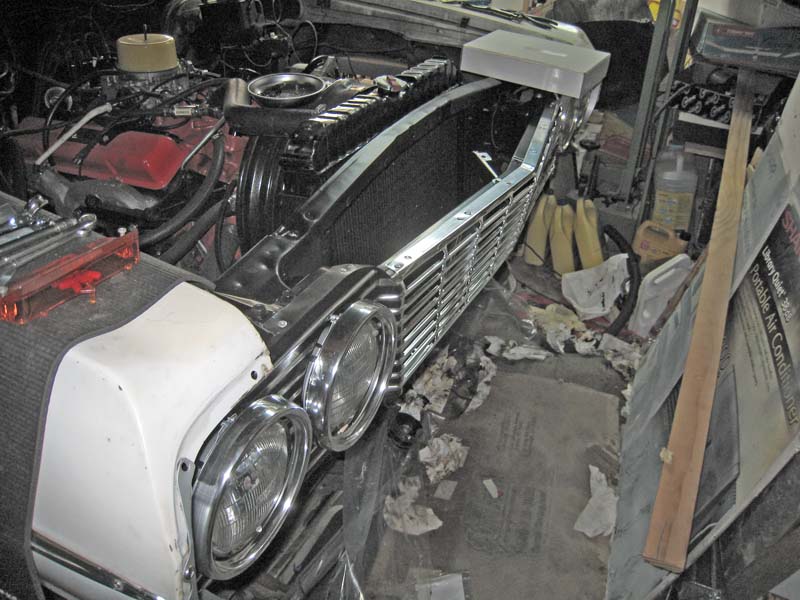
May 14th 2010 - With the heater core leak, I have already started some of the work of getting the air conditioning fixed up. So I am stripping down the front end of the Impala in order to get the A/C condenser out. And as long as I am this deep into it, I removed the radiator support so it can get it’s turn at the sandblaster.
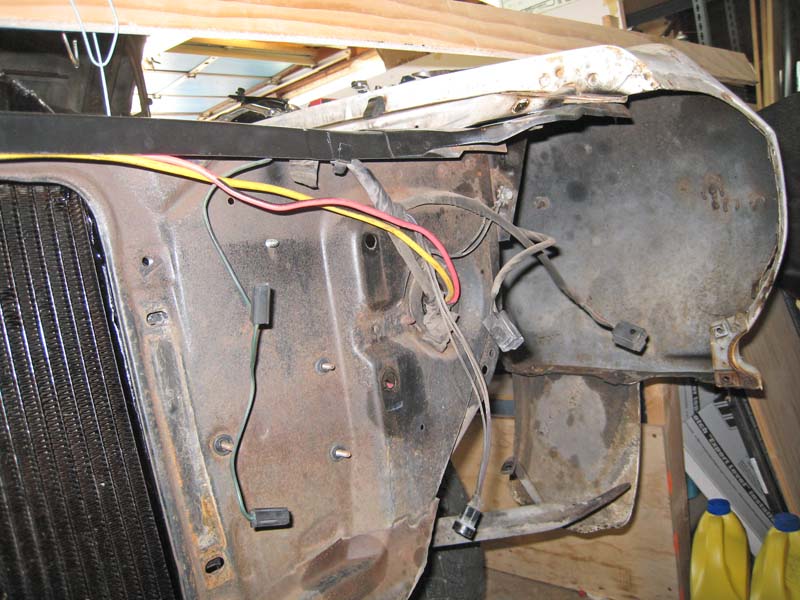

Looking pretty empty up there. It does make for an easier reach to the engine. I sure hope I remember how this all goes back together.
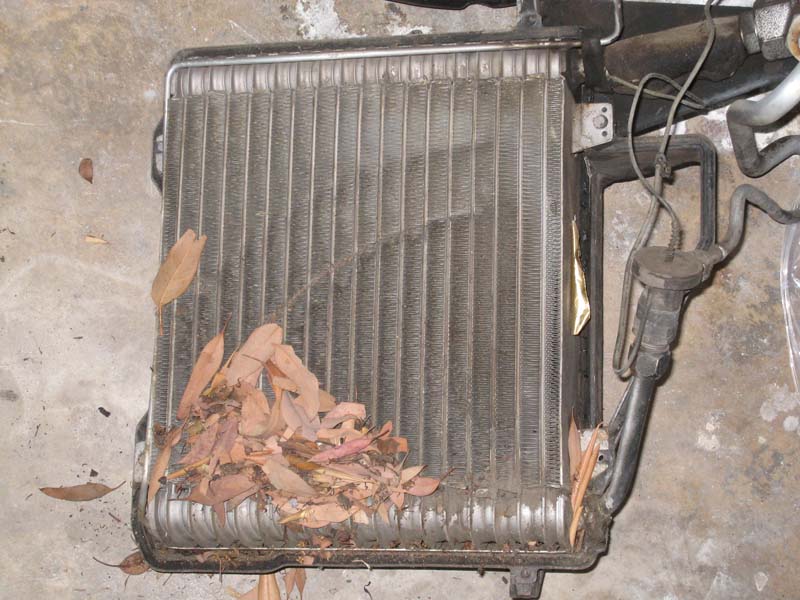
May 22nd 2010 - Pulled the evaporator out to clean it. Leaves, leaves everywhere... I guess I should be thankful that the leaves did not turn into a rust fostering mush.
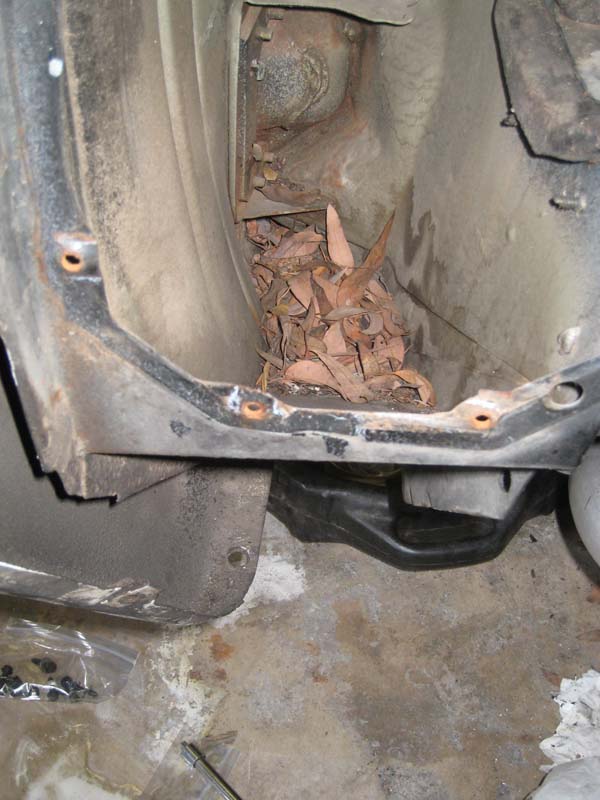
At least the evaporator looks to be in good shape, once the leaves are cleaned off.
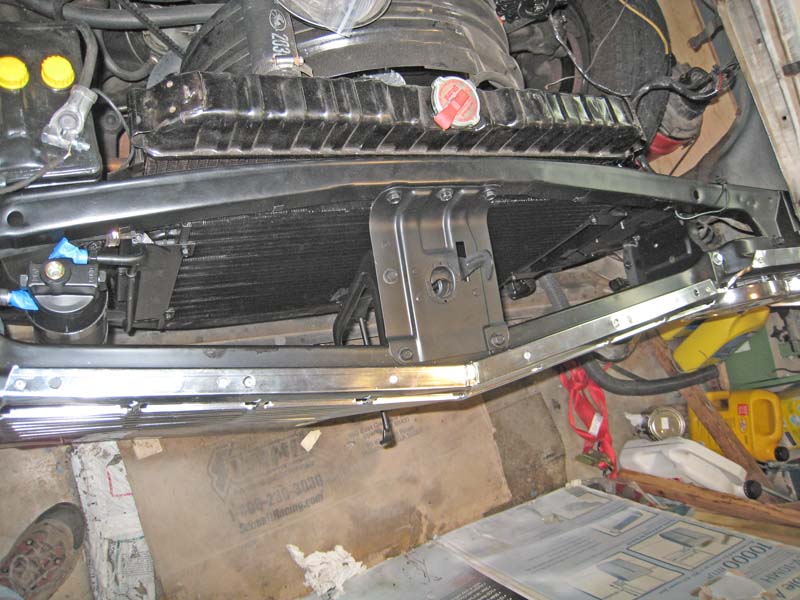
May 24th 2010 - The evaporator has been cleaned, reassembled and installed back in the fender
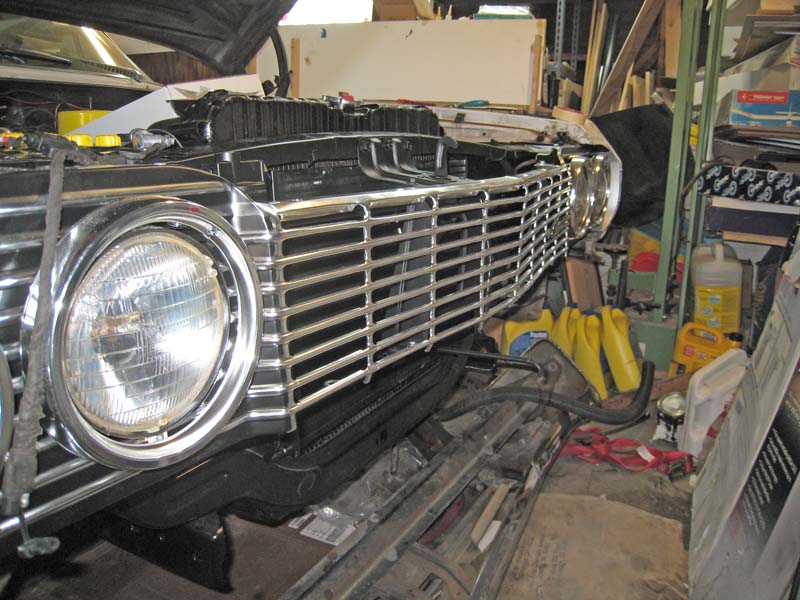
Put the new grill together. Shiny new stuff :-D
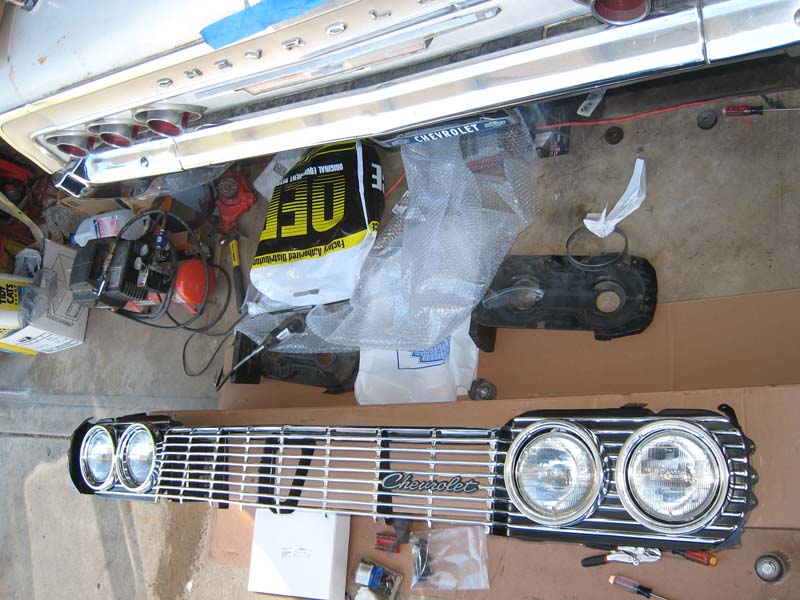
Putting things back together.
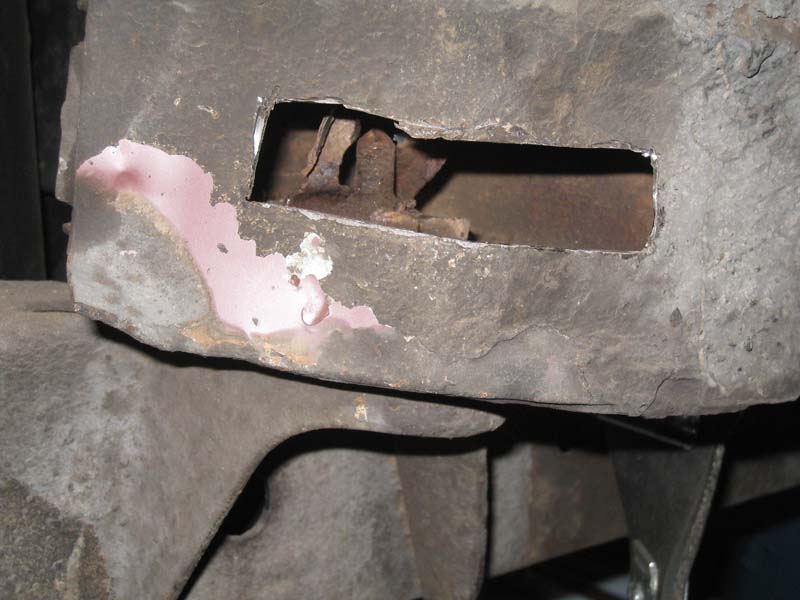
May 22nd 2010 - As long as I have the front fenders disconnected from the frame, I figured it would be a good time to install fresh body mounts. I did this some 25 years ago, but the rubber has deteriorated. This time I will use the Energy Suspension mounts. They look like they will not squish and deform like the stock rubber mounts do over time. I also get to revisit an old nemesis, the driver's side - second from the rear mount, the bolt broke on me 25 years ago. Been working without that mount all these years.
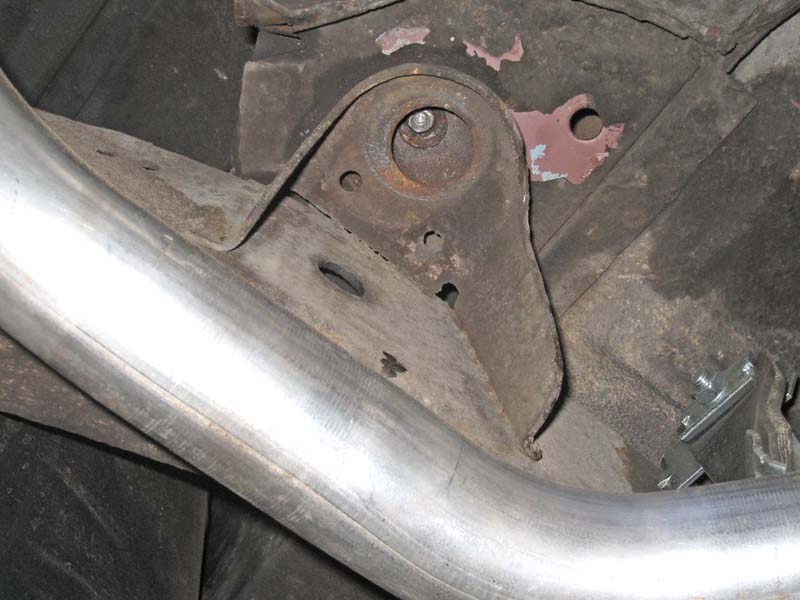
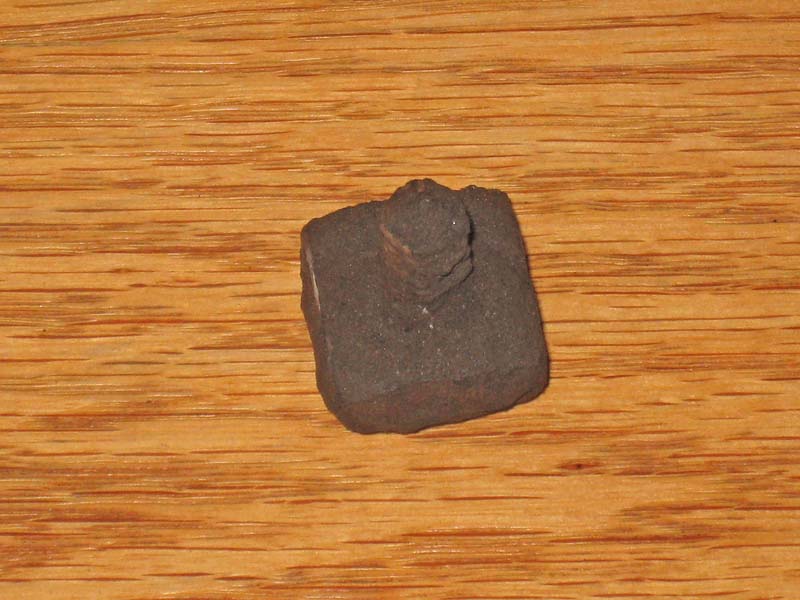
Now I have better tools available, so I am giving it a try again. After blowing out as much dirt from the mount box as I could and soaking both ends of the bolt with penetrating oil for a few days, I ground the broken bolt end smooth and noticed a familiar shape in the metal. Looked like a broken easy out. I don't recall trying an easy out back then, but must have. Of course that means my attempts to try and drill it out again are just exercises in drill bit dulling. So I used my Dremel and a small pointy grinding stone to make a hole, but still could not get a good enough grip to turn the bolt. So, not wanting this to get the better of me once again, Plan B- Cut a hole in the mount box. Hoping the get my vise grips on the other side of the bolt and turn it from there.
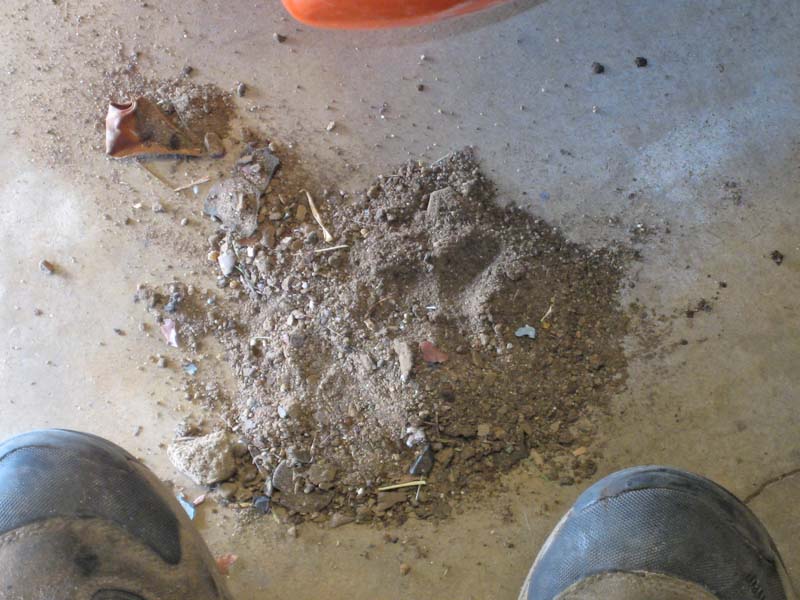
It still would not turn, and felt like it was about to break the metal bracket holding the nut. So, Plan C- Use the Dremel cut off wheel to cut and then tear out and replace the nut/bracket. That let me get the rusty old bugger out. All the other mounts were a piece of cake, the replacement bolts from 25 years ago were still in good shape. I wonder why that one mount collected so much dirt inside. I suspect the large amount of dirt inside the mount box is what lead to the rust. The wet dirt would make mud that would stay wet much longer than just water on metal, naturally promoting rust. But I would think the passenger side would be the side more prone to getting dirt, as it is closer to the dirt on the side of the road, etc.
This is how much dirt I got out of the body mount box. It is probably the reason it rusted up.
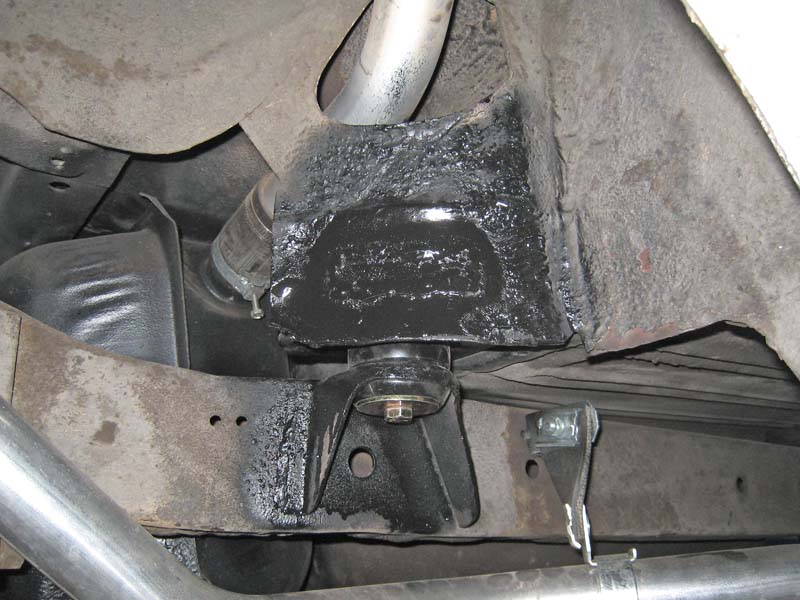
I "welded" up the hole, my first try at MIG welding. More like hot globs of metal, that kind of stick to the parts . Need more practice. Anyways, the hole is filled and slathered in paint. Add some undercoat and it will be invisible.
Go To Page 1
Go To Page 3