 Go To Page 3
Go To Page 5
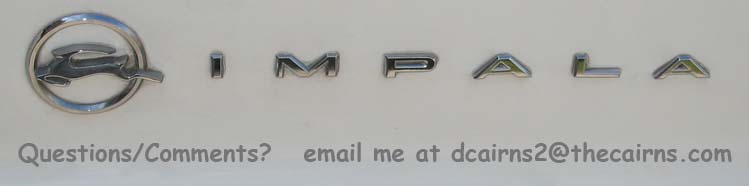
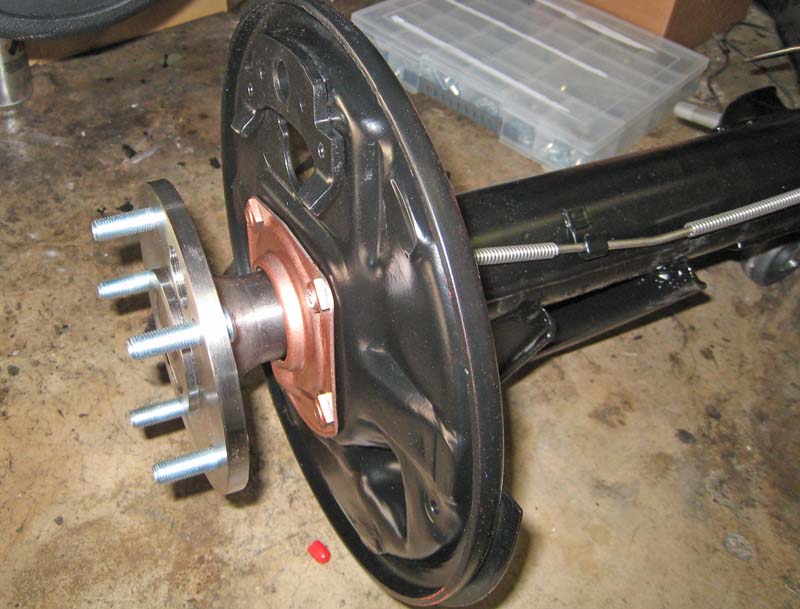
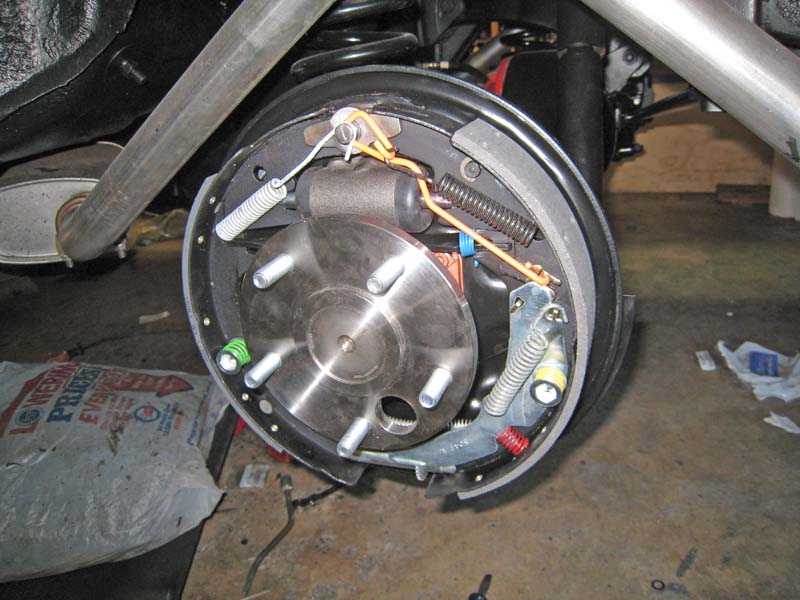
Since I am going back to drum brakes, the backing plate and wheel cylinder get installed.
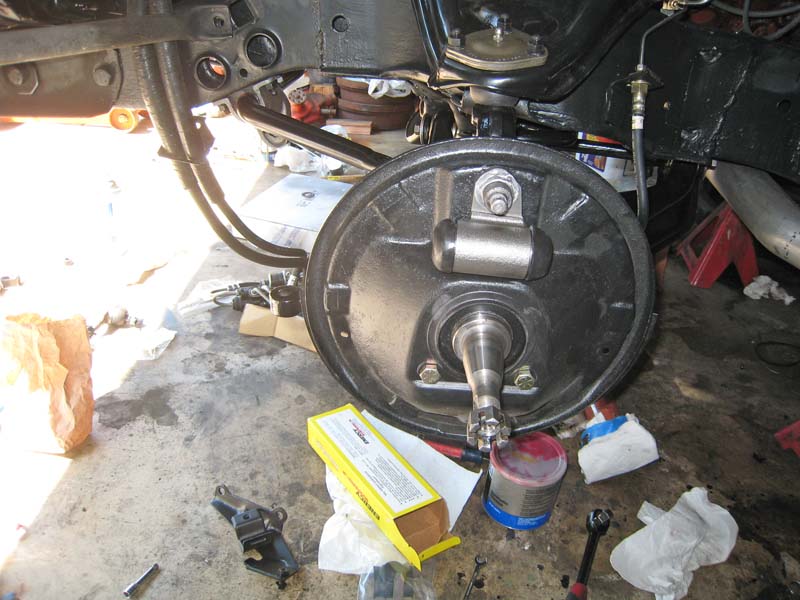
Pretty much all back together up front.
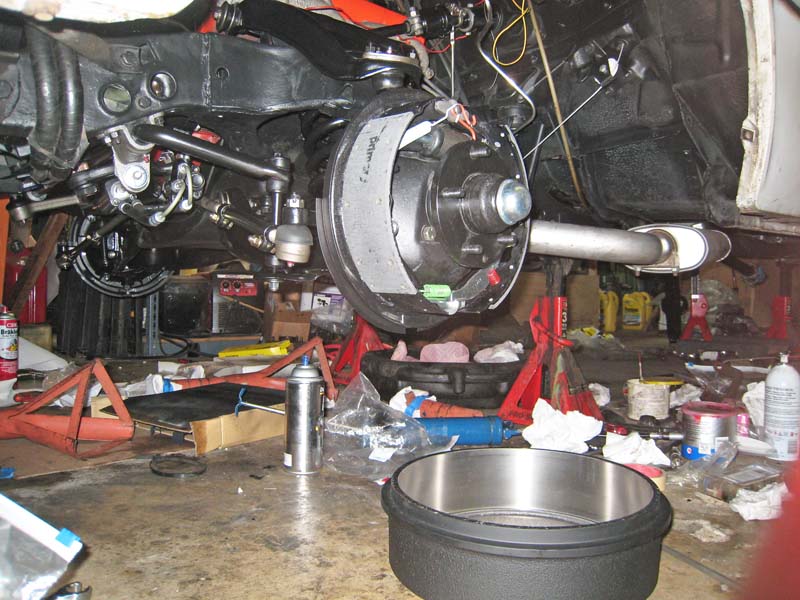
Still missing the main attraction here. The differential has been in the shop for a month now. They said it would only take a week... Better get it back soon, I am running out of things to do.
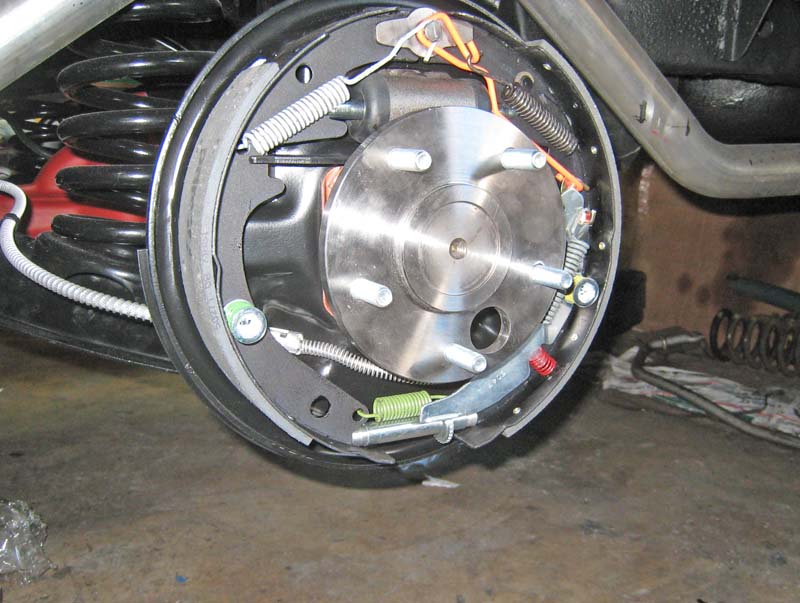
Front brakes installed. Since I am replacing the disk conversion with original style drums, there is new everything here. In fact only the hubs and backing plate are used items. From the brake pedal to the drums, it is a new brake system (well I am re-using the rear drums after having them turned).
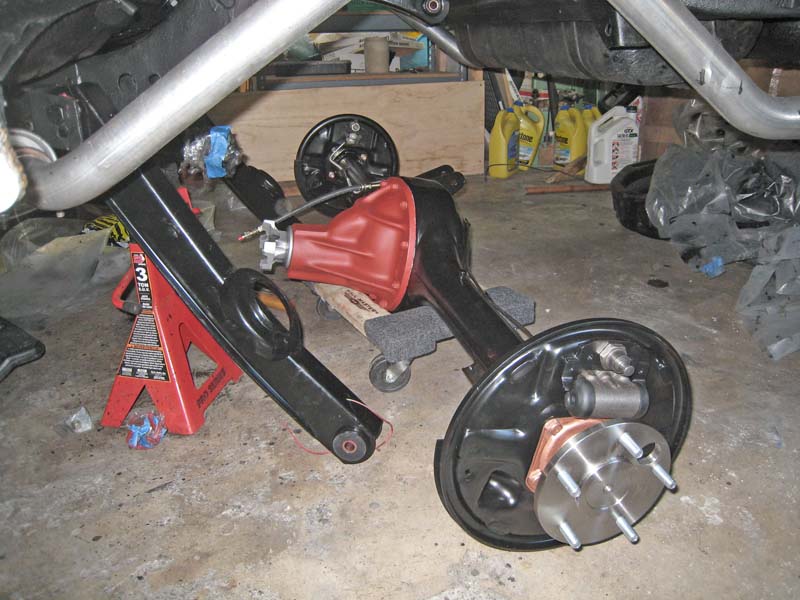
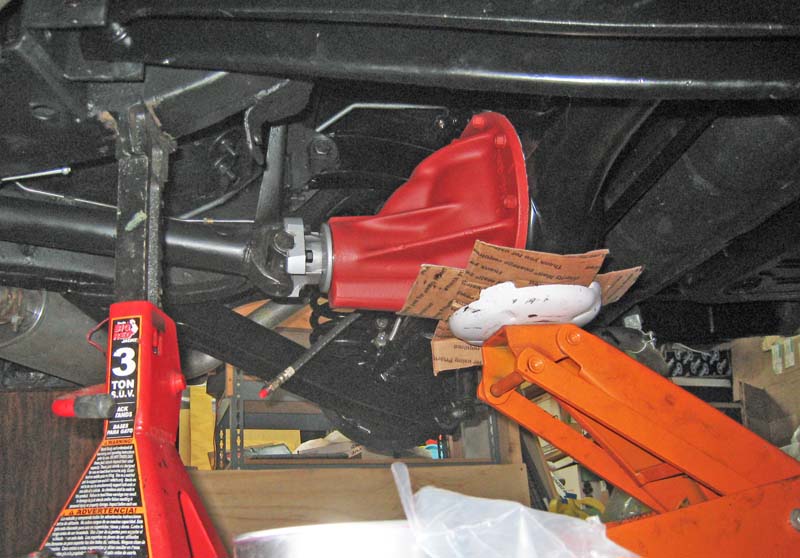
Finally! Took 4 weeks instead of the 1 week quoted to get the differential done . But it is done now, just in the knick of time... New custom machined axles that will take the abuse that the old axles could not seem to handle. I have broken the axles and differential before.
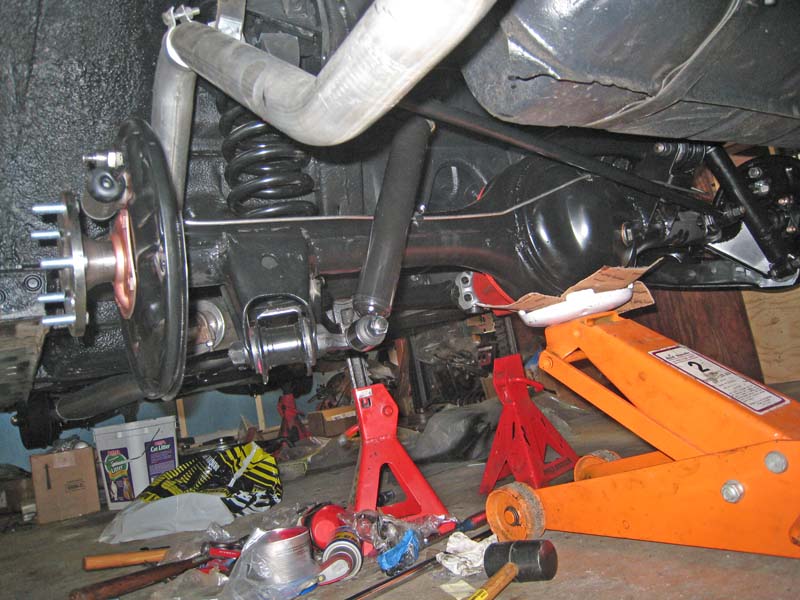
Brake lines and wheel cylinders installed, ready to start bolting things up.
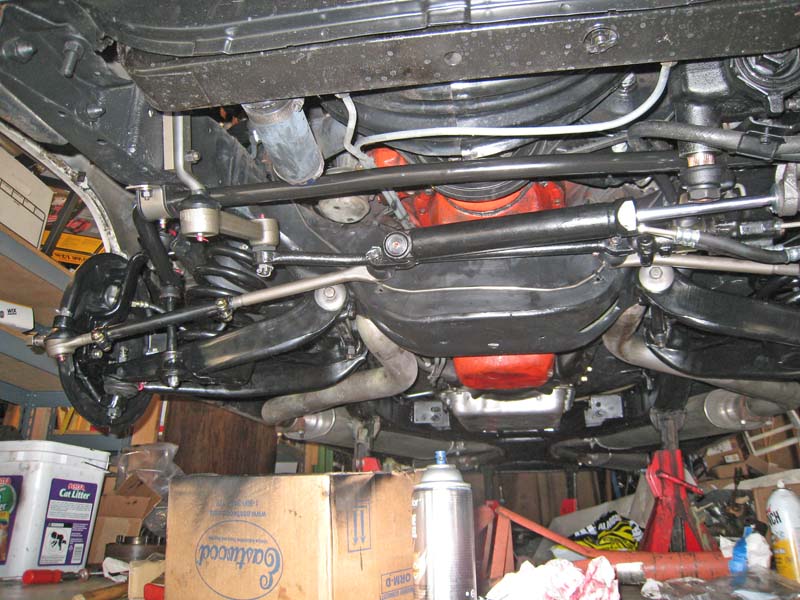
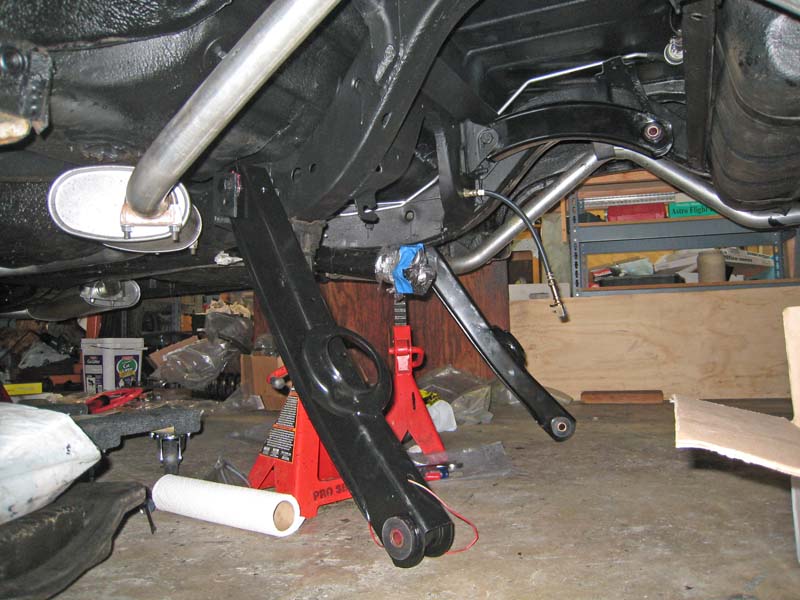
Mounting things up. Installing springs in the rear is a breeze compared to the front, just jack up one side, the other drops, install the spring.
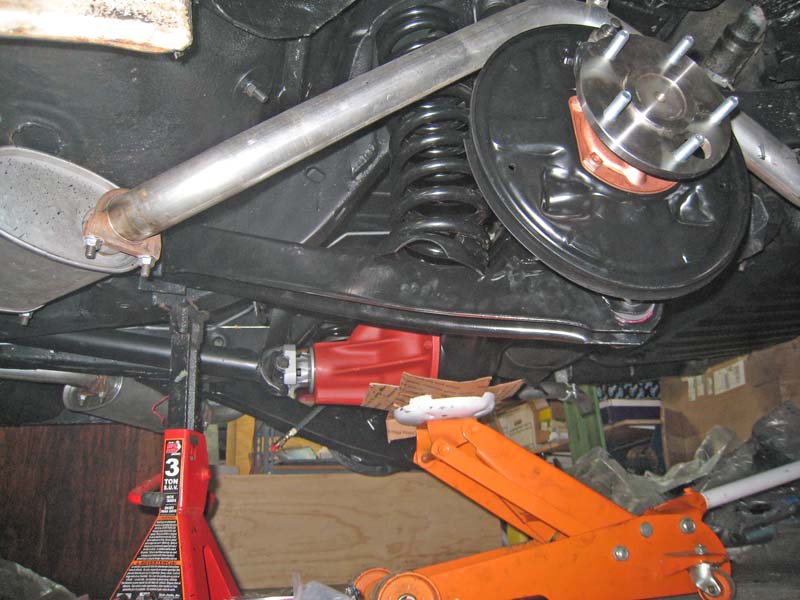
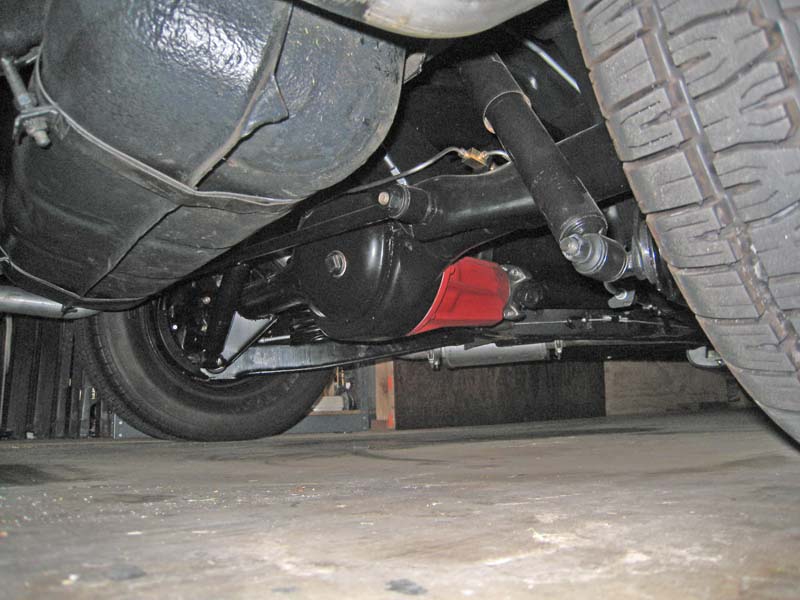
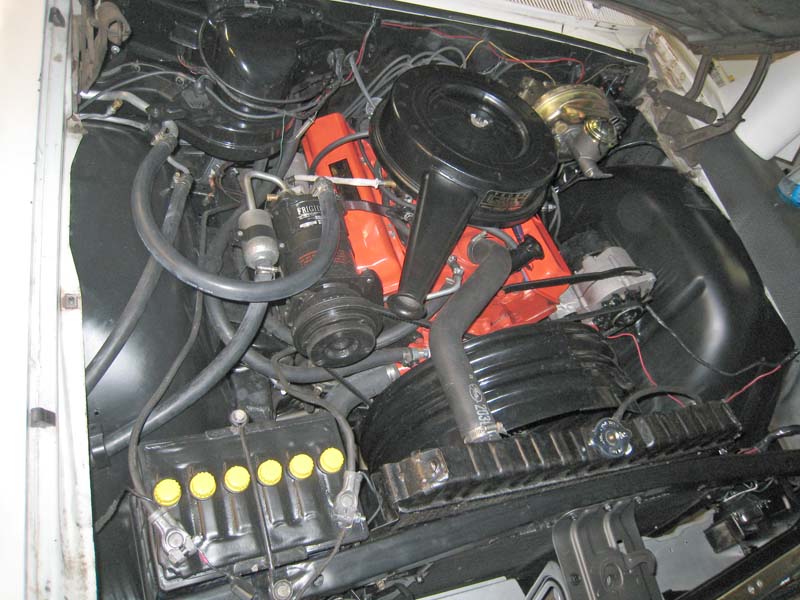
Everybody seems to have a different opinion about the color for the pumpkin. The differential shop swore up and down that every original he has seen was red oxide. Others say black or bare iron (which means rust colored). Since nobody can agree, I went with the splash of color that red oxide primer gives. The pictures make it look a lot more red than the red oxide it is.
Aug 13th 2010 – Brake time.
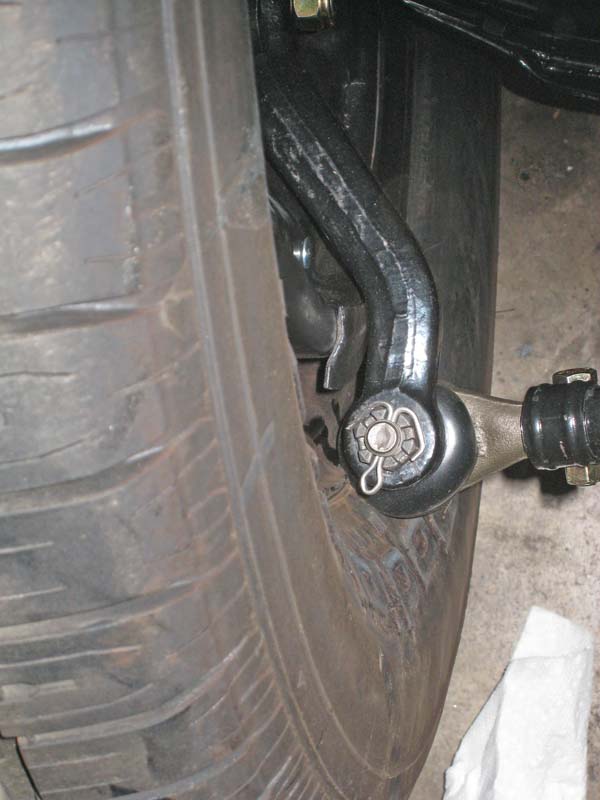
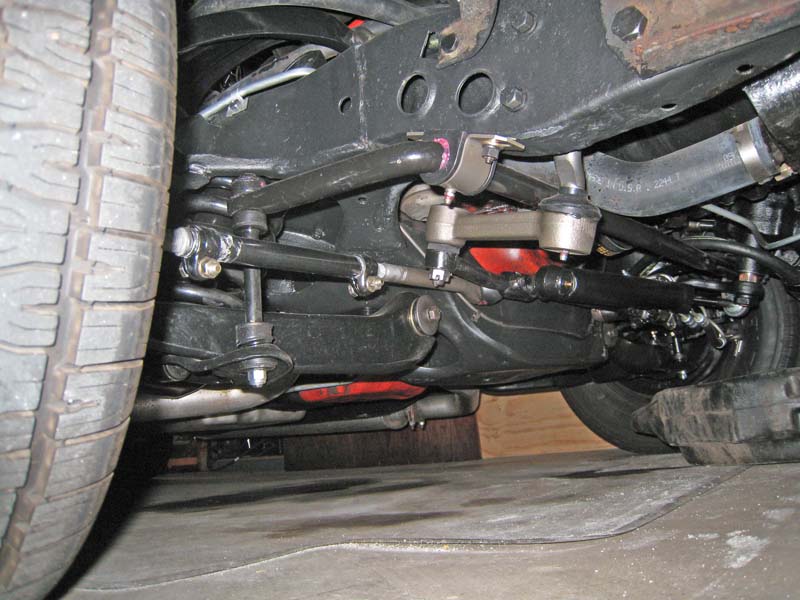
It looks like I made a bad mistake in specifying my new wheels. I did not fully account for the offset that the old disk brake conversion gave to my suspension. So as I mounted up the new wheels on the "new" drum brake system, the tie rod ends are rubbing on the tire/wheel rim . I thought I would have to buy another set of wheels, but it turns out I already have the minimum back spacing that they will make. So I will have to use a 3/8" spacer and longer wheel studs.
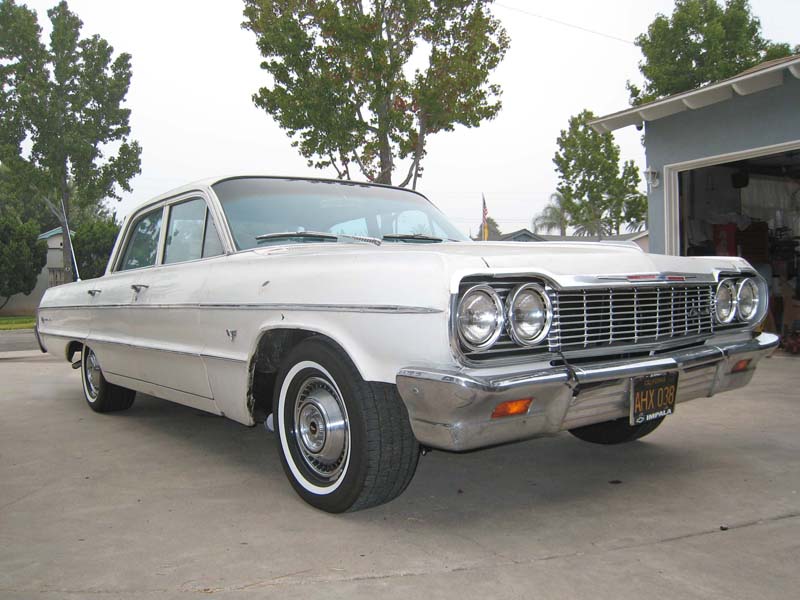
Sept 12th 2010 - With a pair of wheel spacers taking care of the wheel clearance issue on the front wheels, the alignment has been done and brakes bleed, I am on the road again!!!!
Photos do lie, especially with white cars. It does not look anywhere as good as this picture would lead you to believe. However, if I squint, I can imagine what it will look like when the paint and body work is done.
The brakes are back to the stock drums and single well master cylinder.
The underside is pretty much done and looks better than the top side.
While idling in the driveway, one of the A/C hoses blew off, venting my refrigerant charge :( I have an appointment to get that fixed later this week.
Sept 29th 2010 - The A/C guy is thinking the new condenser must be bad, and a new one is on order. In the mean time I can make limited use of the A/C, with the risk of blowing off a hose again.
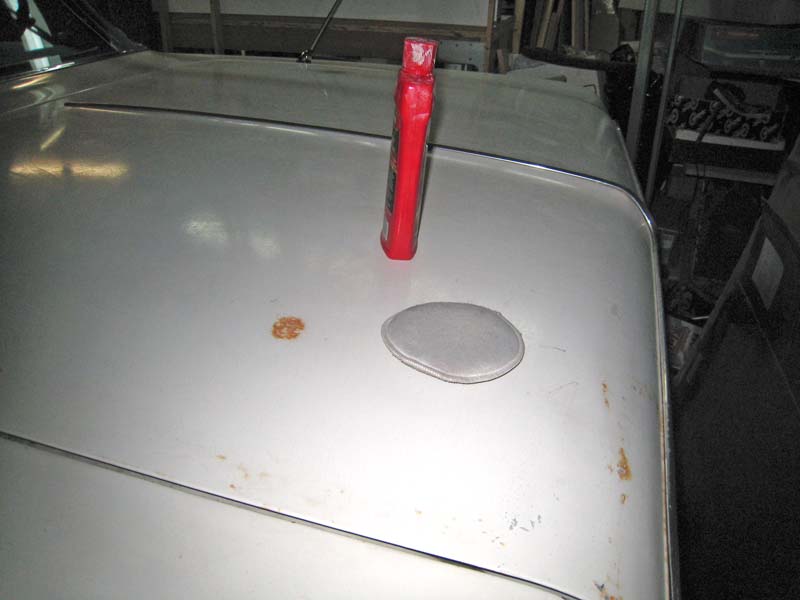
Oct 7th 2010 - Somehow I got talked into bringing my car to the annual Orange County Vintage Chevrolet Club of America car show. It is rather embarrassing to show the car, given how sad the paint body and interior look. No doubt I will be parked next to some sparkling perfect trailer queen, just to make it look even worse. So here I am waxing the rust spots and cracked paint so at least it looks like I tried a bit.
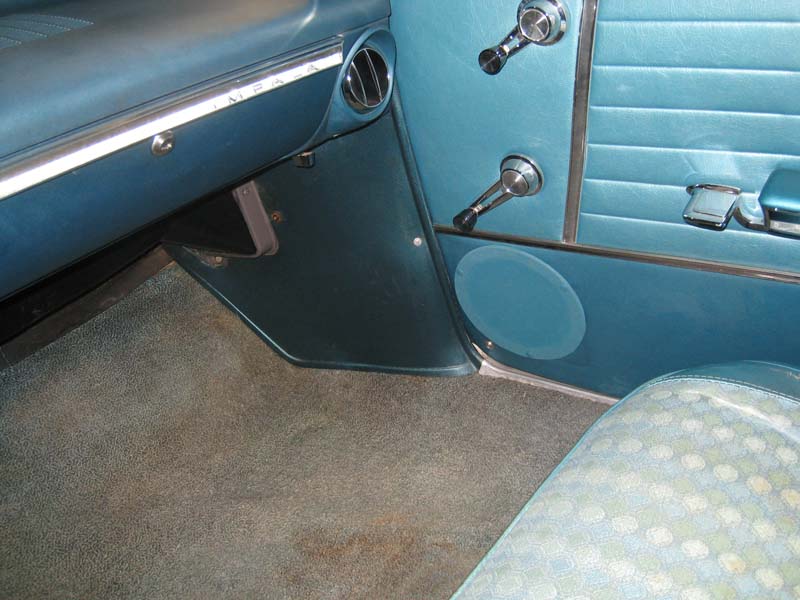
On the positive side, it has forced me to get around to a few things that needed doing, like speaker grills. I thought they came out rather well.
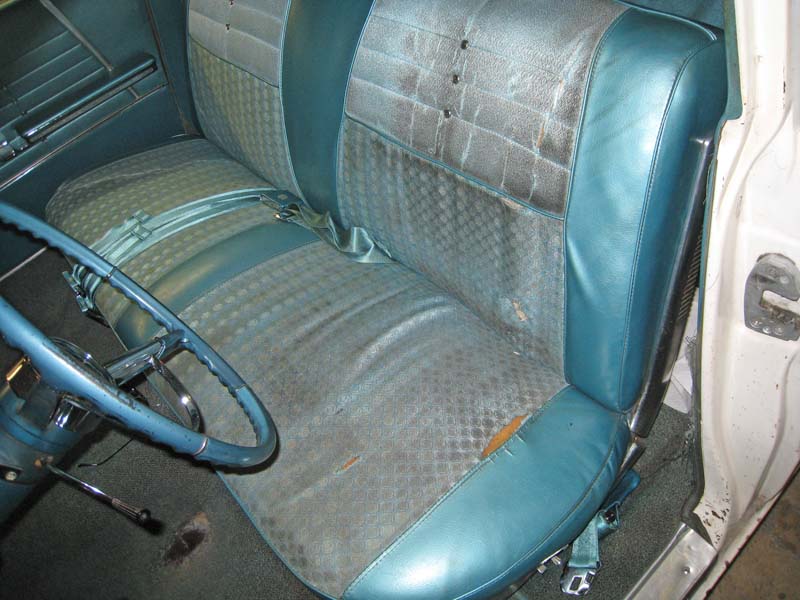
My front driver’s seat was quite black with dirt from 100,000 miles and all the years, so I tried some of that spray on upholstery cleaner. That just made mud that sat there in the fabric and would not wipe off. So I got out the household ‘steam vacuum’. Really just warm soapy water vacuum, but it sprays it on, and vacuums it off, perfect for removing lots of mud. This is what the seats looked like after lots of cleaning. Yeah, it was that bad. Seems like the dirt was holding the fabric together.
I also got the fender wells back in, which are sporting their new dust flaps.
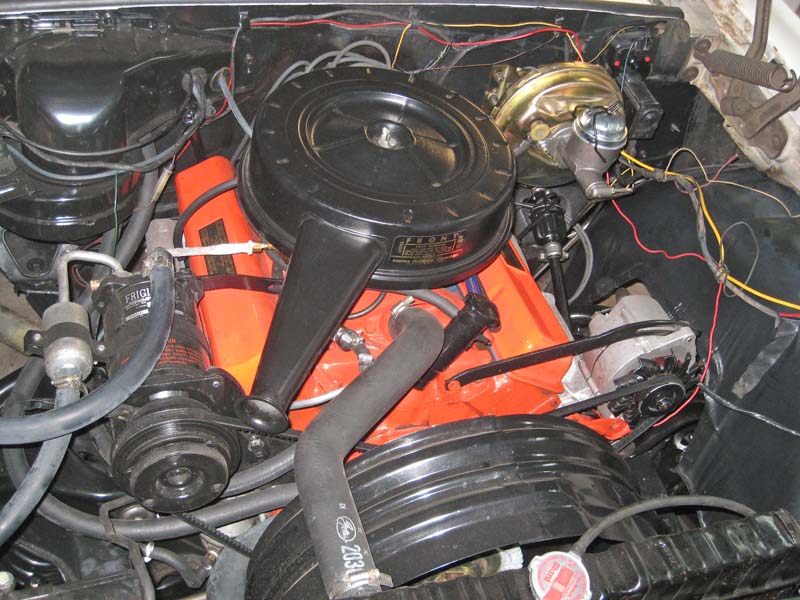
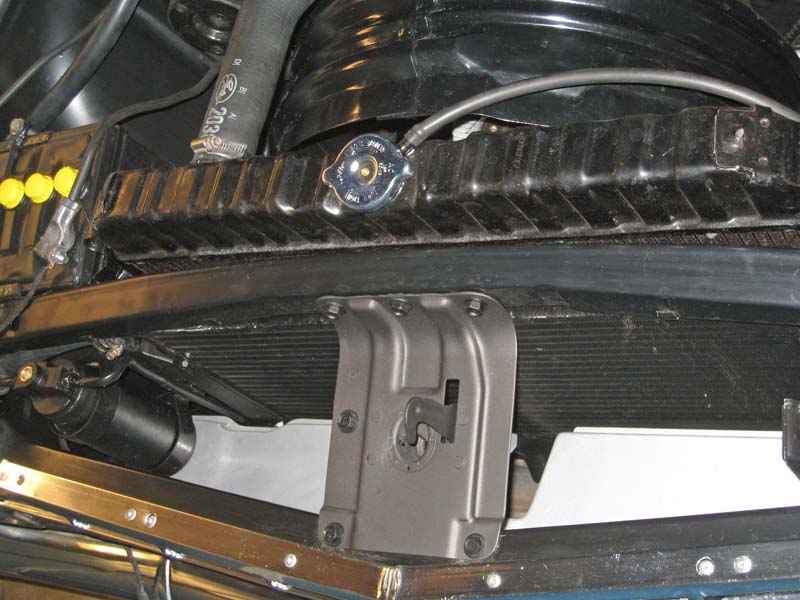
I took the opportunity to spray the hood latch area with Eastwood’s Zinc Phosphate rattle can paint.
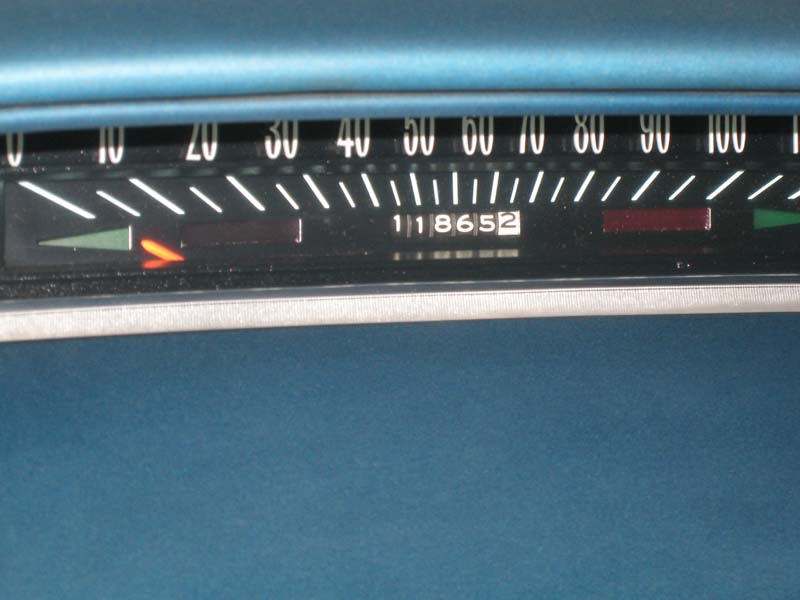
Current mileage. There is an invisible "2" on the left. ;-)
Go To Page 3
Go To Page 5